

Uncategorized
3 Way to Wrap the Flower Bouquet by Step with Picture
Table of contents
Do you want your hand flower bouquet to stand out?
Do you want to break the sales record of your flower bouquets?
Do you want someone to deeply cherish the sent flowers?
Today I will teach you hand by hand to wrap beautiful flower bouquets!
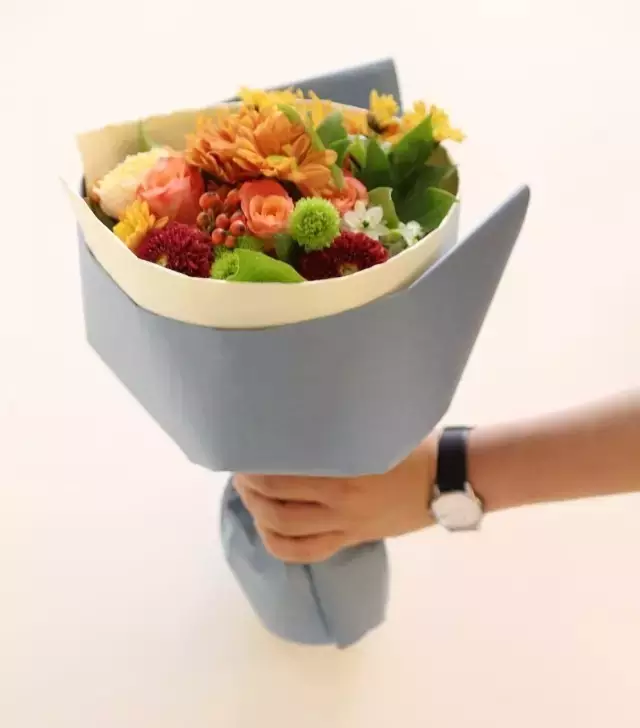
Flower Bouquet Wrapping Way 1
Materials needed: Your flower bouquet, 3 sheets of art paper, double-sided tape, a stapler, decorative ribbon, tape

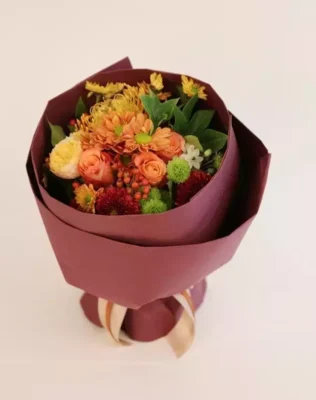
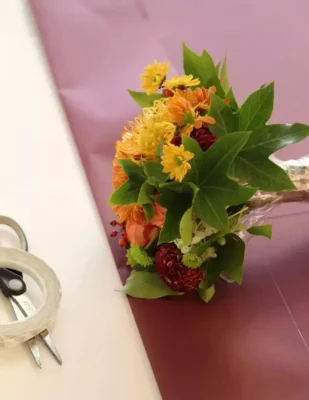

- First, based on what you like and need, arrange the flowers into a nice round bouquet. Don’t forget to use a zip tie to hold it all together, so it doesn’t fall apart.
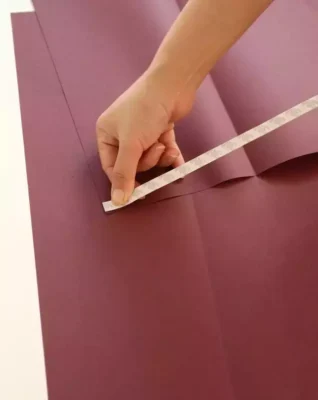
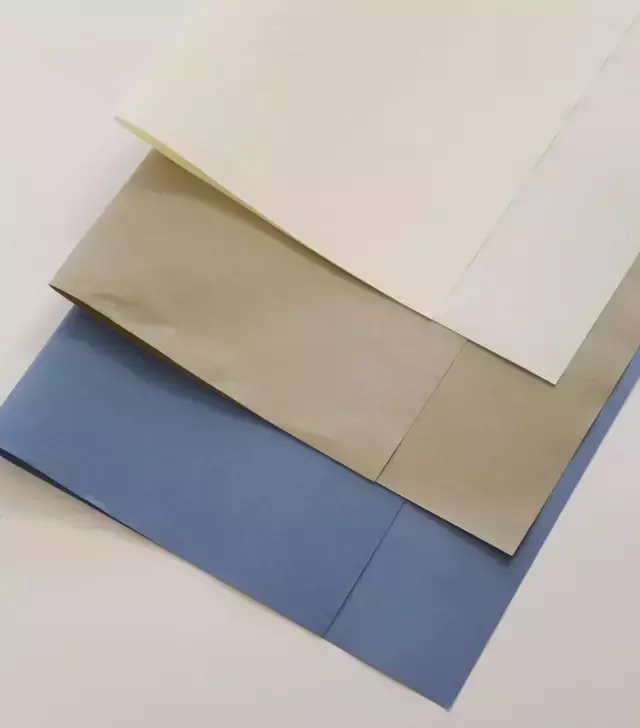
- Grab three sheets of art paper. Place the bouquet on the first sheet, and size up the wrapping paper to the bouquet’s height before cutting it.
- For the height of the paper, fold the top edge inward so that the paper sits just a bit lower than the top of the bouquet, while the bottom part extends past the base of the bouquet.
- The width of the paper should be enough to wrap all the way around the bouquet. If one sheet isn’t enough, you can stick two together with double-sided tape.
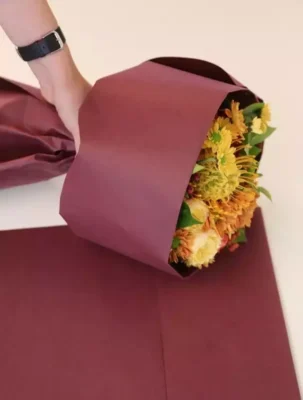
- Wrap the paper around the bouquet once, then grab the tied part tightly (channel your inner beast!). Use a stapler or tape to secure the seams, and adjust the paper to get a nice round shape.
- Wrap the outer layer the same way, leaving it a bit looser than the inner layer.
- Use tape to secure the handle part of the bouquet and adjust the paper. Loosen the layers slightly to give it a more relaxed look. Finally, tie a ribbon, and your bouquet is done!
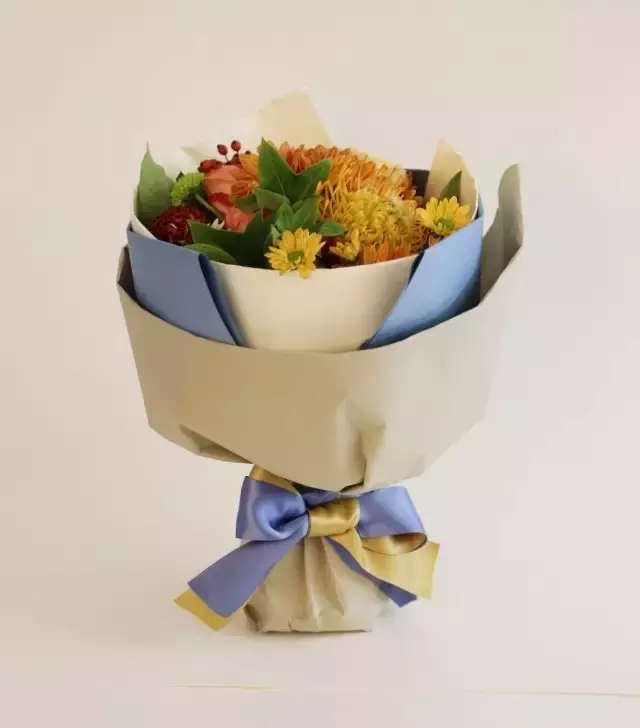
Wrapping Way 2
Materials needed: Your flower bouquet, 3 sheets of art paper in different colors, double-sided tape, decorative ribbon, tape
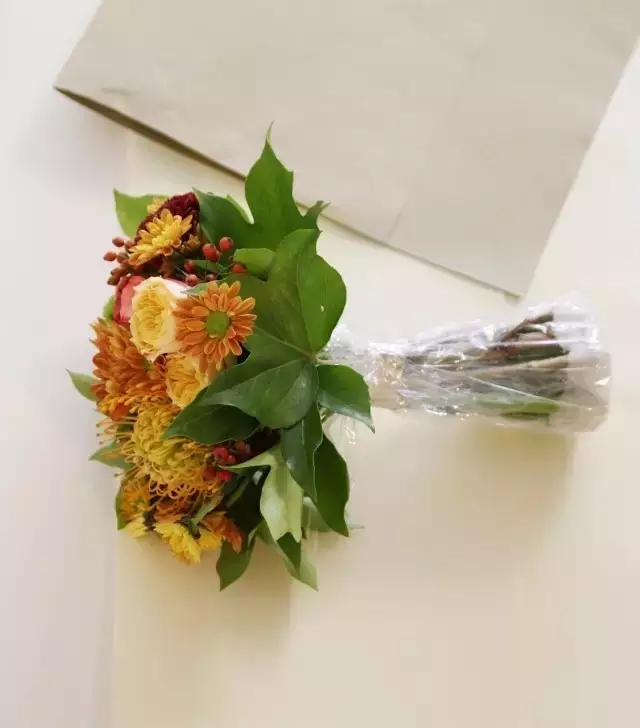
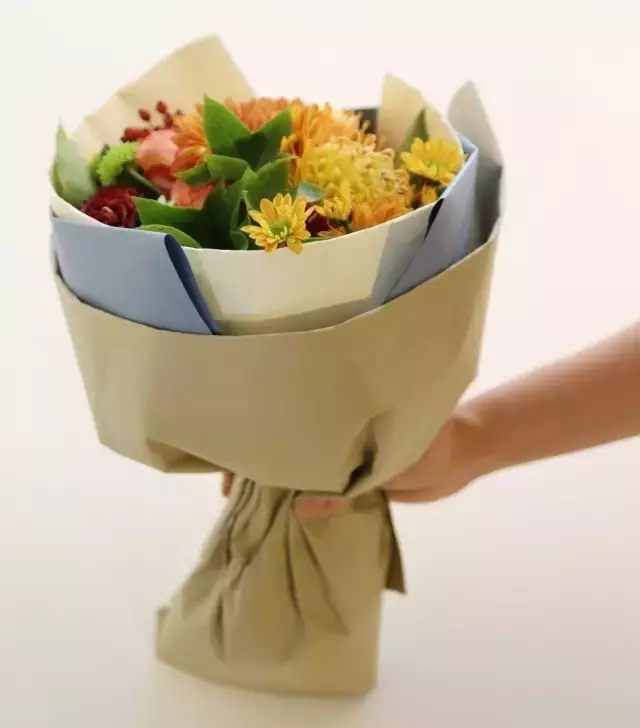
- Start by tying up your flower bouquet into a round shape.
- Grab three sheets of art paper, each in a different color.
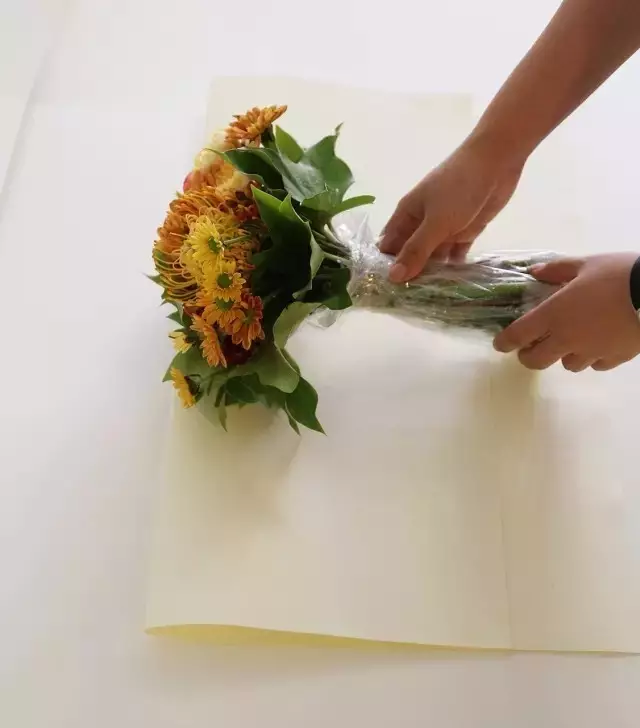
- Lay the bouquet on the first sheet, compare its size and height with the paper, and adjust as needed before folding.
- Fold the top part of the paper inward so it’s a little lower than the top of the bouquet, while the bottom part is a bit longer than the bouquet’s base.
- Once the paper is wrapped around the bouquet, grip the tied section tightly, and gently shape the paper into a round form.
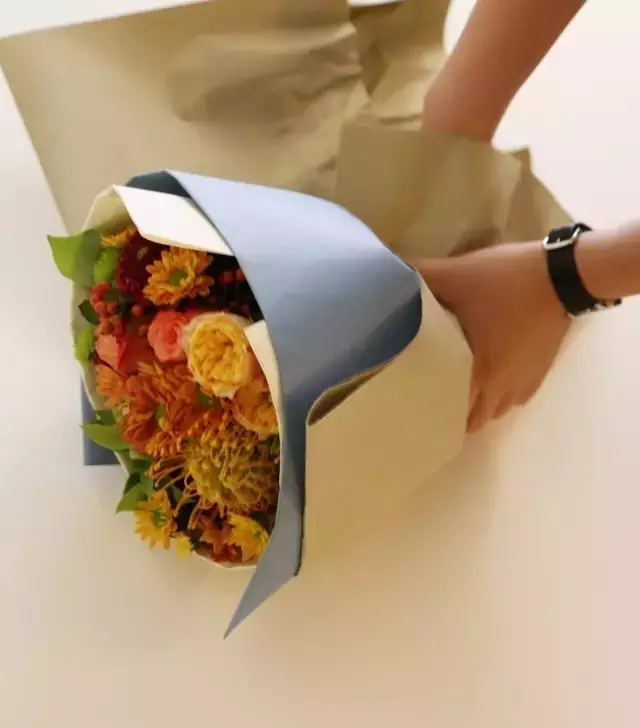
- Wrap the second sheet of paper in the same way. There will be an open side due to the paper’s length. When you wrap it, make sure the open parts don’t line up in the same direction.
- Repeat with the third sheet, wrapping it slightly lower than the last one.
- For the final layer, adjust the paper and stagger the open sides. You can also experiment with horizontal or angled layers for different effects.
- Use some clear tape to hold everything in place, then finish off by tying a ribbon around the bouquet.
Wrapping Way 3
Materials needed: Use the whole piece of corrugated paper, 7 apples (the apples should not be too large), plastic wrap, tape
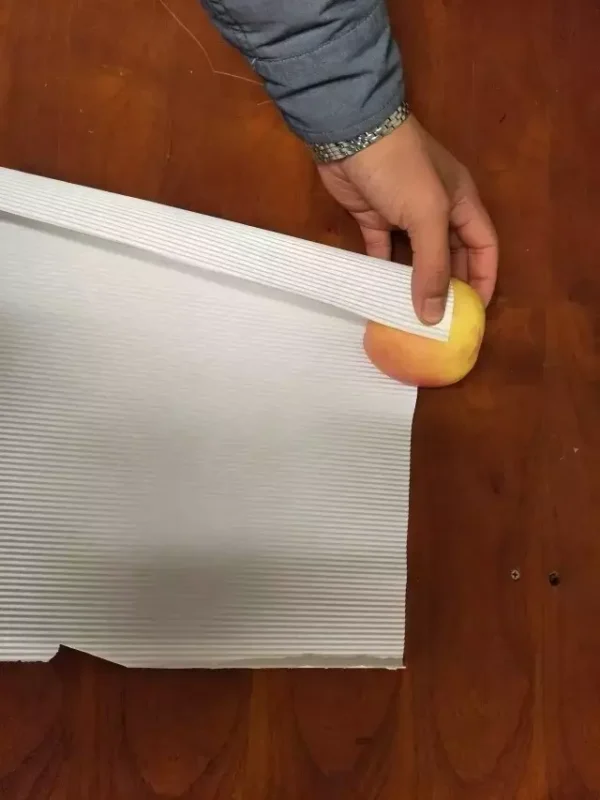
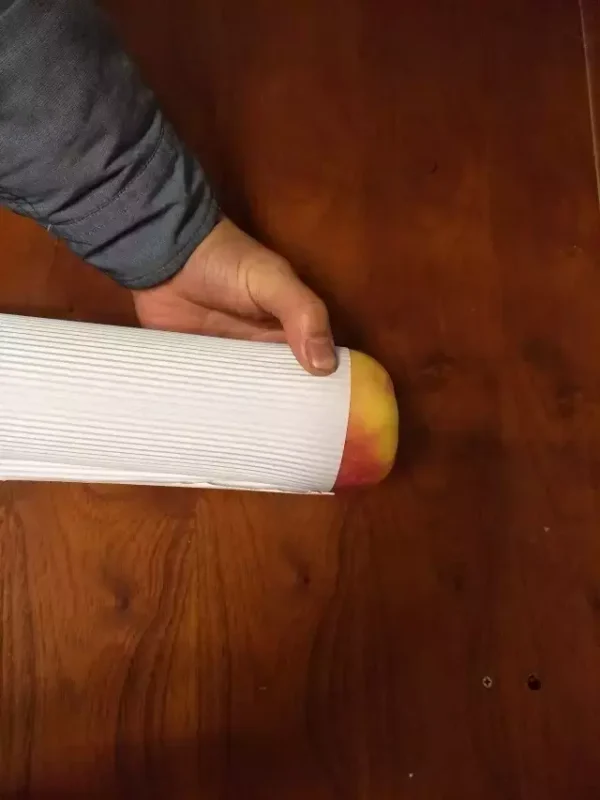
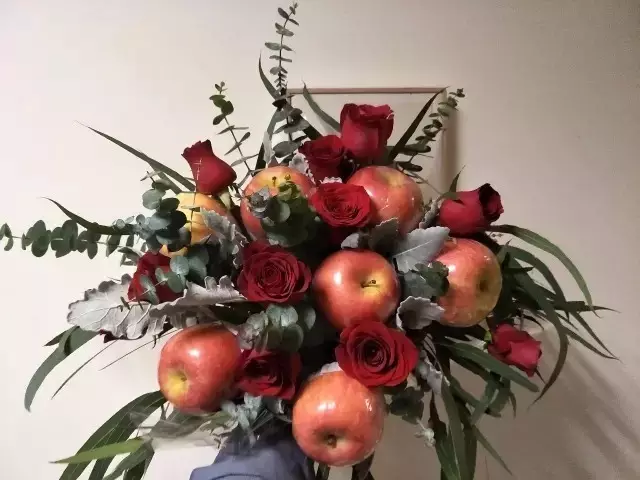

- Place the corrugated paper in the middle of the apples and roll it into a cylinder shape.
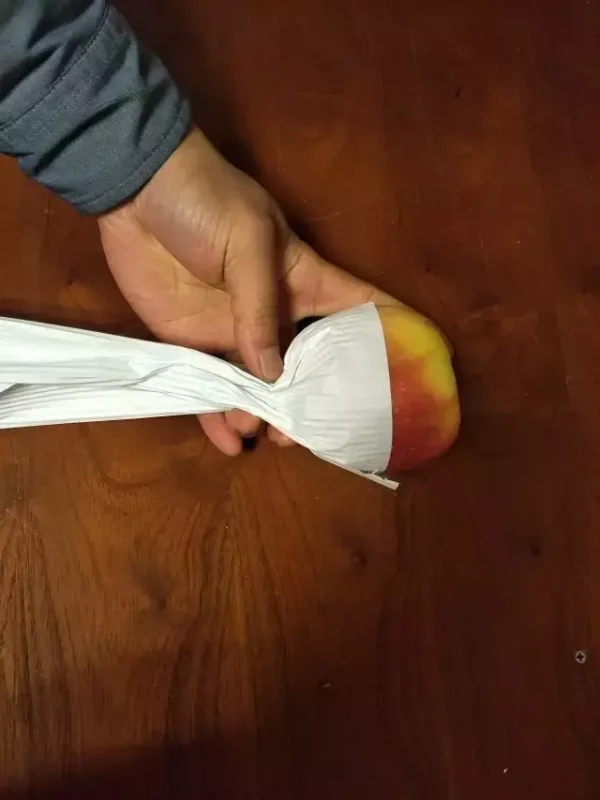
- Tighten the bottom of the apples to make the corrugated paper into a wineglass shape.
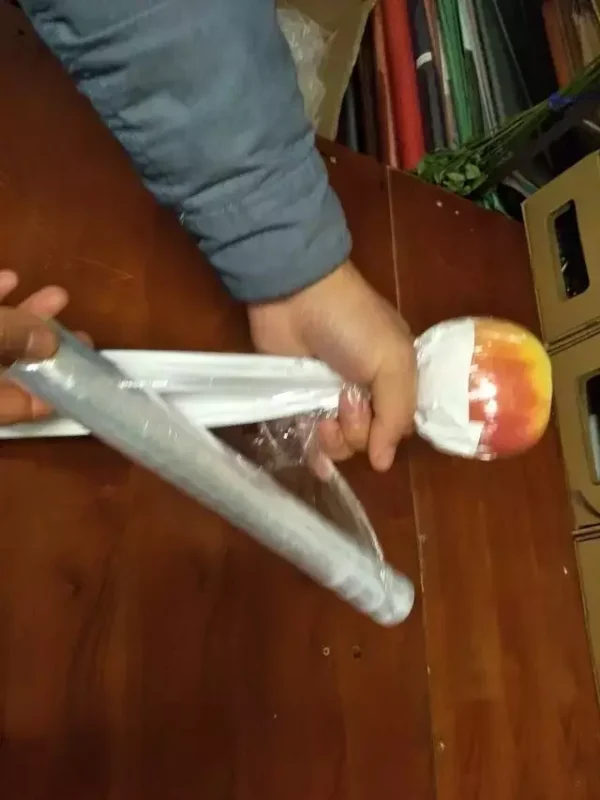
- Use plastic wrap to connect the apples and the corrugated paper from the top of the apples downwards.
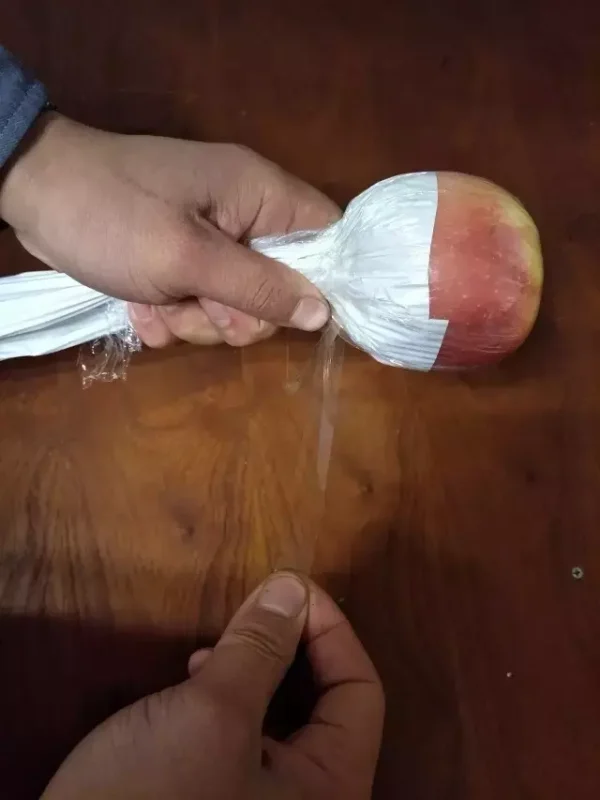
- Use tape to tightly wrap the plastic wrap and the corrugated paper.
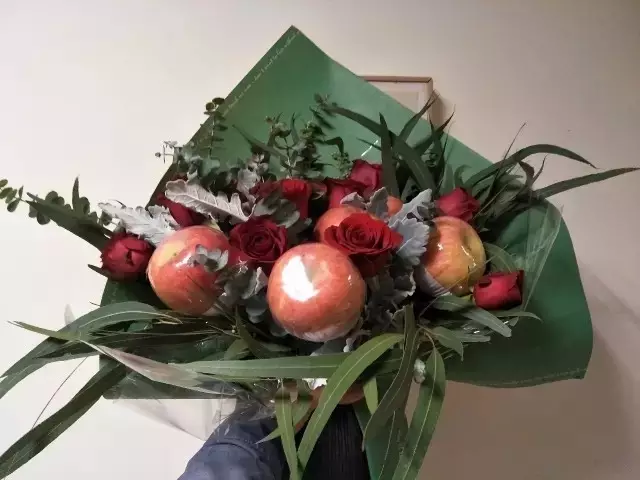
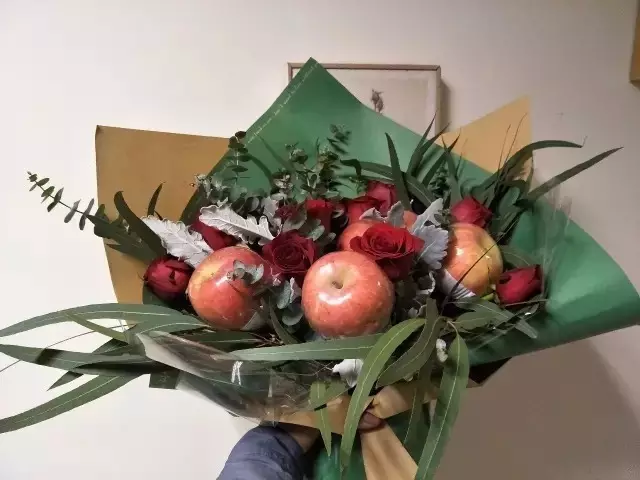
- Match with roses, complementary flowers and leaves using the spiral technique to achieve the picture effect.
- If the apples are too heavy, you can use a harder corrugated paper for support (the hard corrugated paper that wraps the rose heads).
- The first sheet of wrapping art paper mainly serves as a backdrop for the back of the bouquet.
- The second sheet can be adjusted freely based on your preferences and habit.
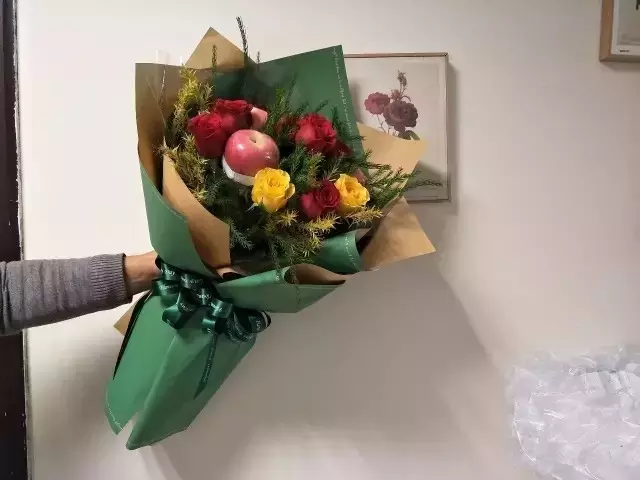
All done!
For more floral consultation and products, please follow us:byfloral.com